
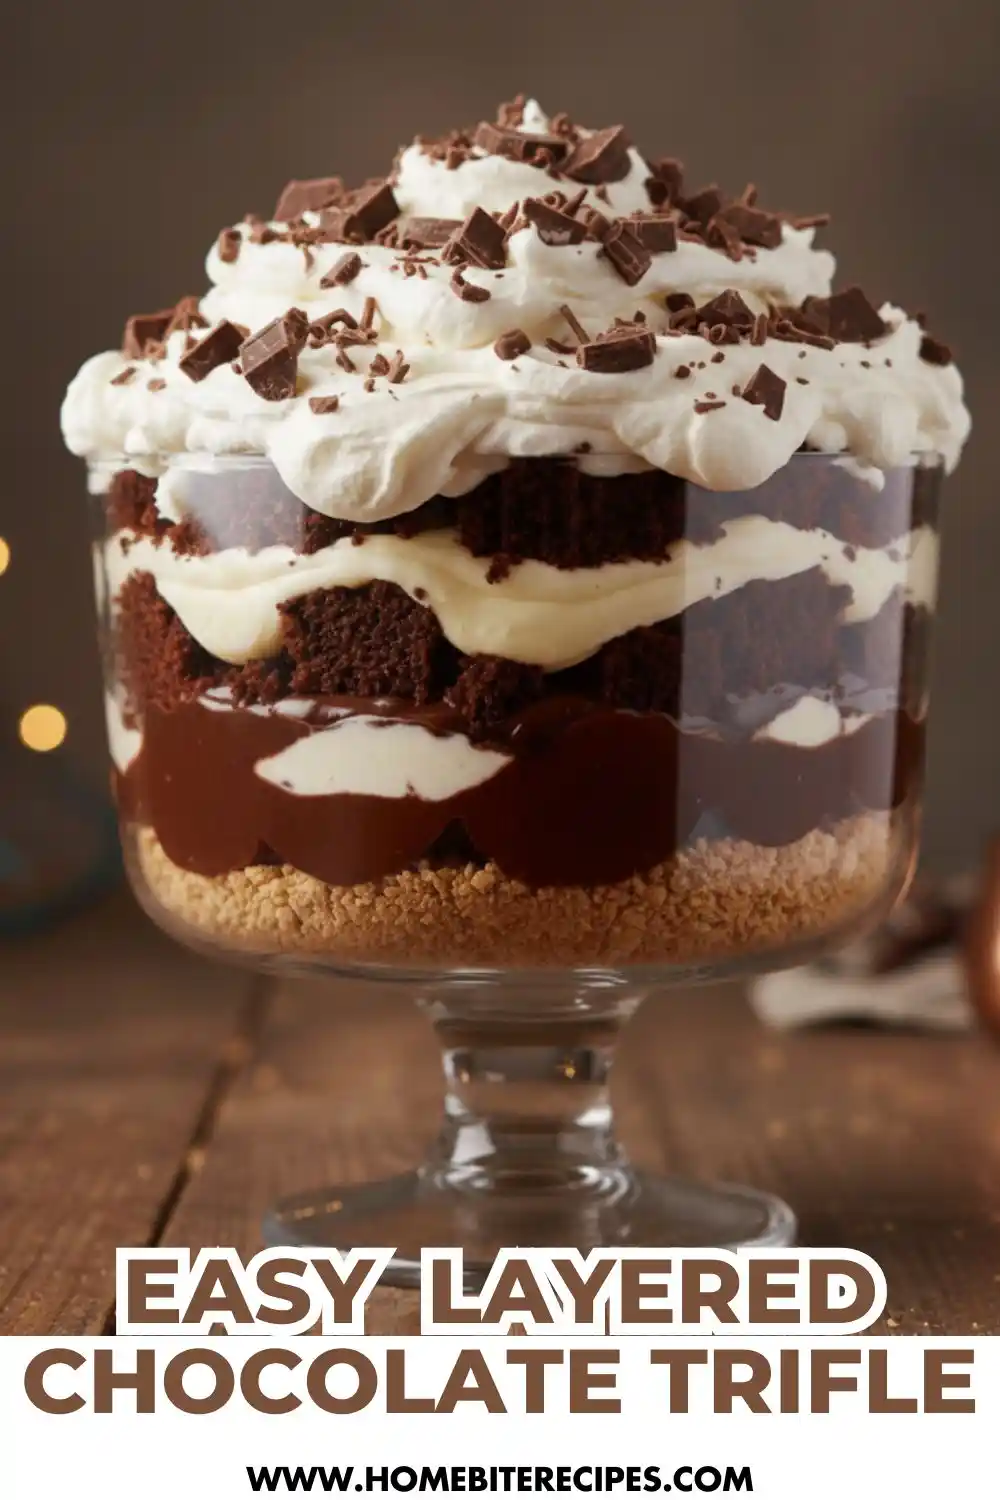
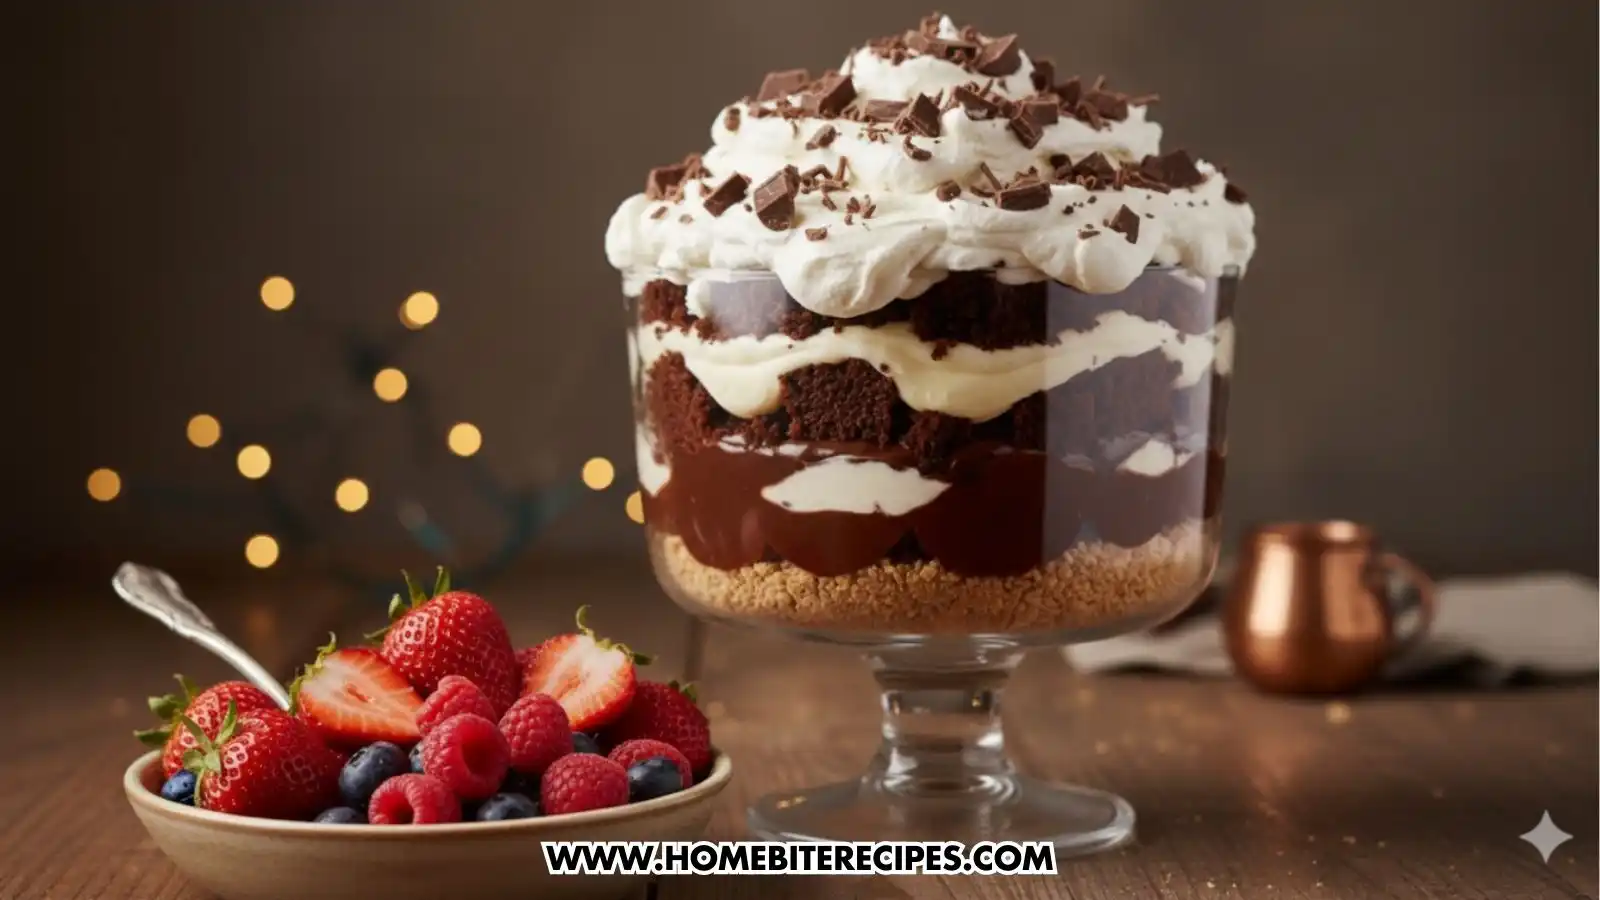
These no bake chocolate dessert cups are rich, creamy, and beautifully layered for an elegant treat that looks impressive but takes very little effort. Perfect for parties, holidays, or anytime you want a make-ahead chocolate dessert without turning on the oven.
Table of Contents
Why You’ll Love This No Bake Chocolate Dessert Cups Recipe
- Completely no-bake, making it ideal for warm days or busy schedules
- Rich, balanced layers of chocolate and vanilla for a classic crowd-pleasing flavor
- Elegant presentation with minimal effort
- Easy to customize with different crumbs, creams, or toppings
- Perfect make-ahead dessert for parties and holidays
✅ This recipe is suitable For:
- Vegetarian
- No-bake dessert friendly
- Party and holiday menus
🚫 This recipe is not suitable For:
- Vegan diets (unless fully dairy-free alternatives are used)
- Dairy-free diets
- Gluten-free diets (unless gluten-free crumbs are used)
No-Bake Chocolate Dessert Cups – Easy Layered Chocolate Trifle
Ingredients
- 2 cups chocolate cake crumbs or chocolate cookies crumbled
- 1 cup chocolate pudding or chocolate ganache
- 1 cup vanilla pudding or vanilla cream
- 1 cup whipped cream or whipped topping
- Chocolate shavings or chopped chocolate for topping
- Optional: crushed biscuits for the base
Instructions
- Prepare clear dessert cups or small glasses and place them on a flat tray.
- Add a base layer of crushed biscuits or chocolate cake crumbs.
- Spoon an even layer of chocolate pudding over the crumbs.
- Add a layer of vanilla cream and gently spread it smooth.
- Repeat the layers until the cups are filled, ending with cream.
- Top each cup with whipped cream.
- Garnish with chocolate shavings or chopped chocolate.
- Chill for at least 1 hour before serving to allow the layers to set.
Notes
Tips & Variations
- Substitutions: Use gluten-free cookies or cake crumbs if needed. Dairy-free pudding and whipped topping can be used with texture adjustments.
- Flavor Variations: Add a pinch of instant coffee powder to the chocolate layer for a mocha twist, or use dark chocolate pudding for deeper flavor.
- Optional Add-Ons: Fresh berries between layers add freshness and contrast, while crushed nuts add crunch.
- Presentation Tip: Use piping bags for clean, defined layers if serving for guests.
Storage
- Store the dessert cups covered in the refrigerator for up to 3 days. These desserts are best enjoyed chilled and are not recommended for freezing, as the cream layers may lose their smooth texture once thawed.
Perfect Pairings: What to Serve with these No Bake Chocolate Dessert Cups
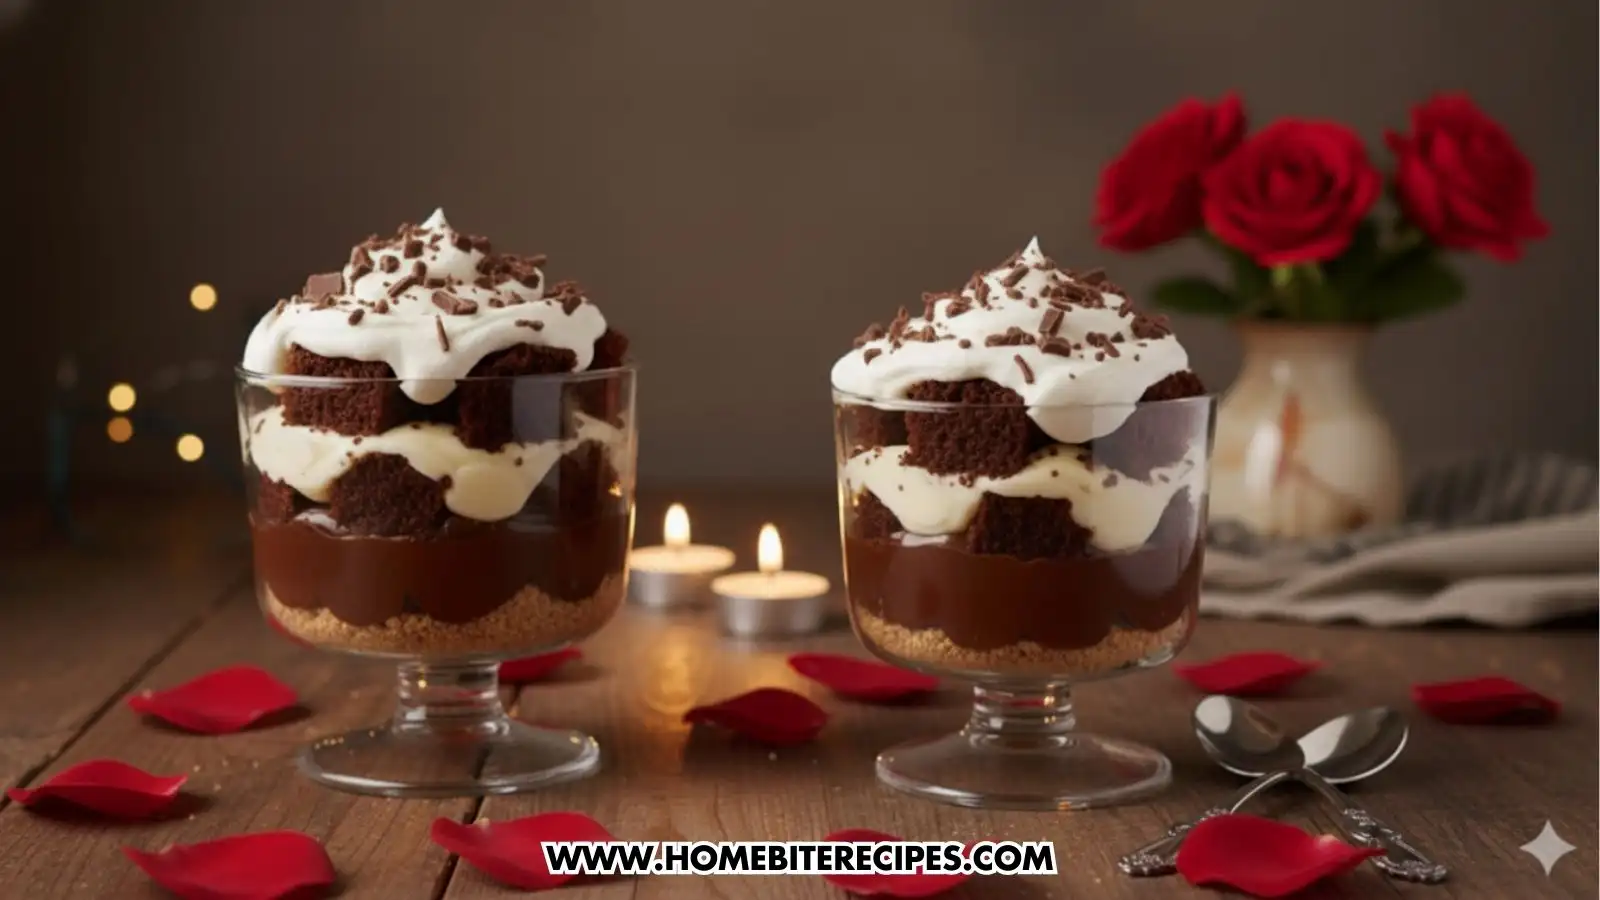
These No Bake Chocolate Dessert Cups pair beautifully with fresh berries such as strawberries or raspberries, which add brightness and balance to the rich chocolate layers. The contrast in flavor and texture keeps the dessert from feeling too heavy.
A warm cup of coffee or espresso is an excellent match, enhancing the chocolate notes and making these cups perfect for after-dinner entertaining. For those who prefer something cozier, hot chocolate or a creamy latte works just as well.
If you’re serving these No Bake Chocolate Dessert Cups as part of a larger dessert spread, a scoop of vanilla ice cream on the side adds a classic touch without overpowering the layered flavors. Simple accompaniments allow the dessert cups to remain the star of the table.
Common Mistakes to Avoid When Making No Bake Chocolate Dessert Cups
Not Layering in the Correct Order
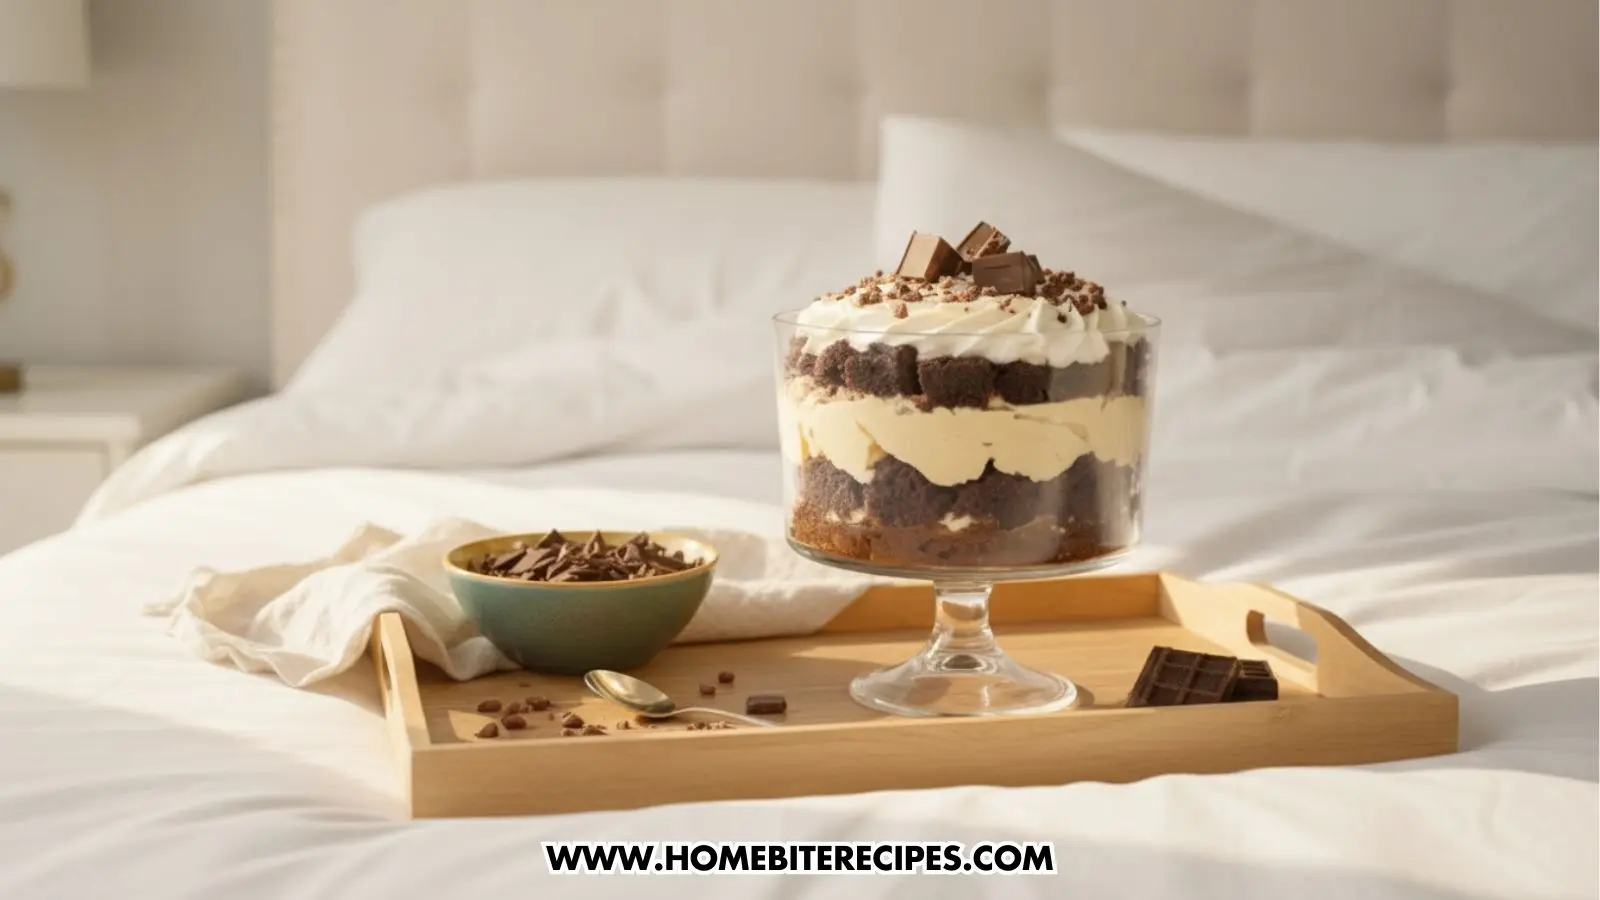
Layering order matters for structure and flavor. Always start with the crumb or cookie base, followed by a chocolate layer, then vanilla cream, and top with whipped cream. This ensures that the dessert is visually appealing and easy to eat, with the rich chocolate at the bottom and the light vanilla cream on top.
Skipping the Chilling Time
The chilling time is crucial for the layers to set properly. If you don’t let the dessert cups chill long enough, the layers may not hold their shape and could blend together when served. For best results, allow the dessert to chill for at least an hour to ensure the texture and layers are firm.
Using Runny Pudding or Cream
Consistency is key for neat layers. If your pudding or cream is too runny, the layers will not stay defined, leading to a sloppy presentation. Ensure your pudding is thickened and the cream is whipped to stiff peaks before layering.
Overfilling Cups Too Quickly
Don’t rush the layering process. Filling the cups too quickly without properly spreading each layer can result in uneven portions and a messy final product. Take your time and use a spoon or small spatula to smooth out each layer before adding the next one.
Crushing Cake Crumbs or Cookies Too Finely
Texture matters! If you crush the cake crumbs or cookies too finely, the base layer will lose the necessary texture to support the rest of the layers. Make sure the crumbs are small enough to form a base but still coarse enough to provide texture when eaten.
Not Using Enough Layers
More layers = more flavor and texture. If you skimp on the layers, the dessert may end up lacking balance in flavor and texture. Aim for at least two layers of chocolate and vanilla cream, plus a thick base of crumbs or cookies for the best outcome.
Not Garnishing Properly
The garnish is what makes this dessert feel special! Failing to top your dessert with chocolate shavings, cocoa powder, or fresh berries can leave it looking plain. Make sure to finish the cups off with a beautiful garnish that adds a touch of elegance.
Using Unsweetened Pudding or Cream
You need a sweet contrast to the rich chocolate layers. If you use unsweetened versions of pudding or cream, the dessert could end up too bitter and unbalanced. Be sure to use sweetened pudding or adjust the sweetness level of the whipped cream.
FAQ
1. Can I make these No Bake Chocolate Dessert Cups ahead of time?
Yes, this dessert is perfect for making ahead of time! It actually tastes even better when it has had time to chill and the flavors meld together. You can make it a day in advance and store it in the fridge, covered, for up to 3 days.
2. Can I use store-bought pudding instead of homemade?
Absolutely! Using store-bought pudding saves time and works just as well for this recipe. Choose a high-quality brand for the best results. If you’re in a hurry, pre-made chocolate or vanilla pudding can be a real time-saver.
3. Can I make these No Bake Chocolate Dessert Cups gluten-free?
Yes, you can! Simply swap the regular cake crumbs or cookies for gluten-free options. There are many gluten-free chocolate cookies available, or you can use gluten-free cake or brownie crumbs for the base. Just double-check the other ingredients to make sure they are gluten-free as well.
4. How long does these No Bake Chocolate Dessert Cups last in the fridge?
When properly stored in an airtight container or covered tightly with plastic wrap, these no-bake chocolate dessert cups will last for up to 3 days in the fridge. After that, the cream may start to lose its texture, so it’s best enjoyed within that timeframe.
5. Can I use brownies instead of cake crumbs?
Yes, brownies can make a wonderful substitute for cake crumbs! Brownies add a fudgier texture and richer flavor to the base, which complements the creamy layers perfectly. Just crumble the brownies into small pieces to create a base for the dessert.
6. Can I reduce the sweetness of these No Bake Chocolate Dessert Cups?
Absolutely! If you prefer a less sweet dessert, you can adjust the sugar content in the pudding or whipped cream. Use dark chocolate pudding for a less sweet, more intense chocolate flavor. You can also reduce the sugar in the whipped cream or use a sugar substitute if needed.
7. Are clear cups necessary for this recipe?
While clear cups are preferred for presentation, you can use any small serving dish, like small bowls or jars, if you don’t have dessert cups. The clear cups just showcase the beautiful layers, but your dessert will still be delicious no matter the container!
8. Can kids help make these No Bake Chocolate Dessert Cups?
Yes, this is a great no-bake dessert for kids to help assemble. They can help crush the cookies, spoon in the layers, and even add the toppings. It’s a fun and simple dessert to make together, and the result is always a hit!
9. Can I double this recipe for a larger crowd?
Definitely! This recipe scales easily for larger gatherings. Simply double or triple the ingredients, depending on how many servings you need. You can assemble the cups in large trifle bowls or keep them individual for a more personal touch.
10. Can I turn this into one large trifle?
Yes, you can. Instead of individual cups, layer everything in a large glass trifle bowl. Follow the same layering method, ensuring you spread each layer evenly. This is perfect for larger parties or when you want to present it as a showstopper dessert.
These No-Bake Chocolate Dessert Cups are the kind of dessert that feels special without requiring hours in the kitchen. With their creamy layers, rich chocolate flavor, and elegant look, they’re perfect for entertaining or treating yourself to something indulgent.
If you love easy, make-ahead desserts like this, you’ll also enjoy my Blueberry Swirl Cheesecake Cups on homebiterecipes.com. It’s another simple yet impressive dessert that’s perfect for parties or sweet cravings. If you try these No Bake Chocolate Dessert Cups, I’d love to hear how it turned out—leave a comment and share your favorite variation.